Guide

How to Install Pavers in 5 Steps

Installing pavers can completely transform an outdoor space. A well-built driveway, patio, or walkway is both durable and attractive. But for long-lasting results, what’s underneath matters just as much as the surface. Here’s how to get it done, step by step.

Before You Start: It All Begins Beneath the Pavers

Long-lasting pavers start with what you don’t see: the foundation underneath.

If the base isn’t done properly, you may end up with:

  • low spots
  • uneven surfaces
  • shifting pavers

The good news? With the right steps, these issues are easy to avoid.

Step 1: Build a Solid Base (The Famous “0–¾”)

Once the area has been excavated, it’s time to add a layer of 0–¾ crushed stone.

What Exactly Is 0–¾?

It’s a blend of crushed stone in different sizes:

  • larger pieces (up to ¾ inch)
  • mixed with stone dust

This combination works well because:

  • the smaller particles fill the gaps between the larger stones
  • everything compacts together to create a strong, stable base

What Does Compaction Mean?

Compaction is the process of compressing the ground to make it dense and stable.

Without proper compaction, the base stays loose. Over time, rain, frost, and traffic can cause movement — and your pavers will shift with it.

With proper compaction:

  • the surface becomes firm
  • it won’t settle unevenly
  • it can support weight without moving

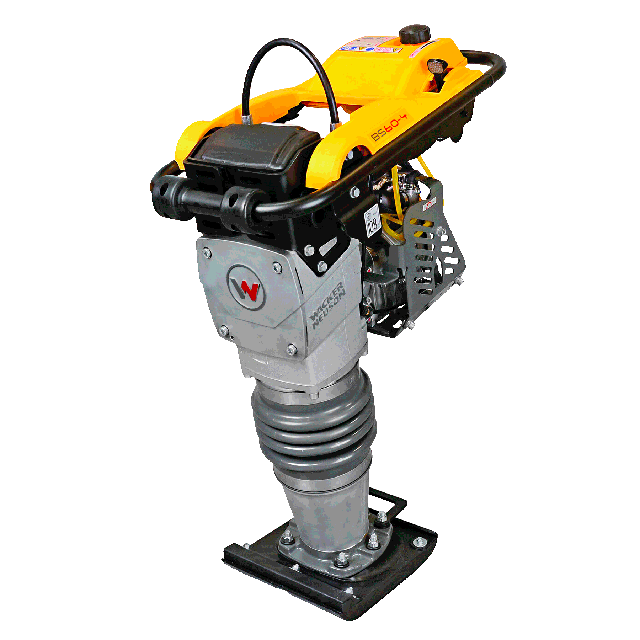
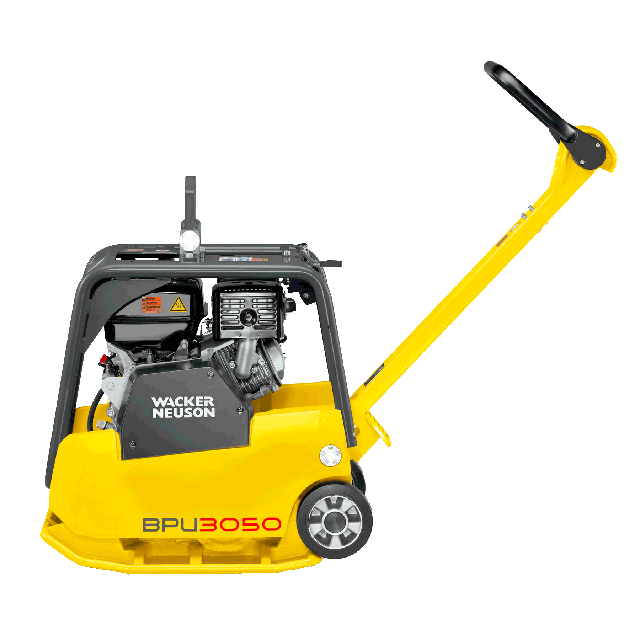
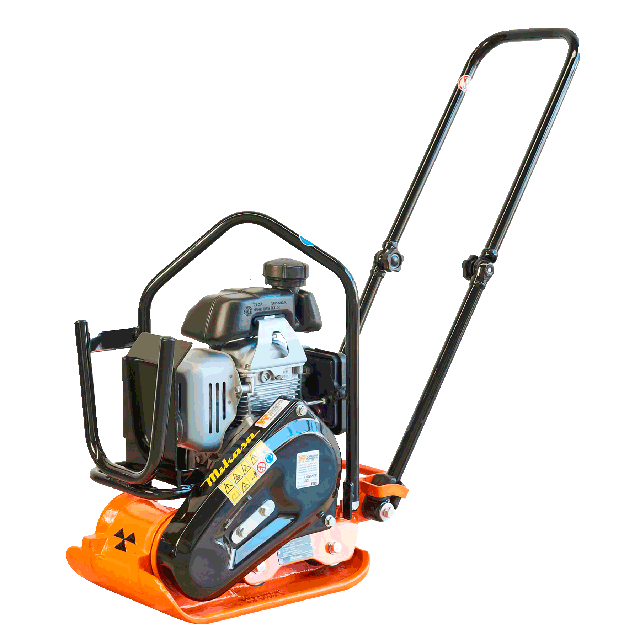
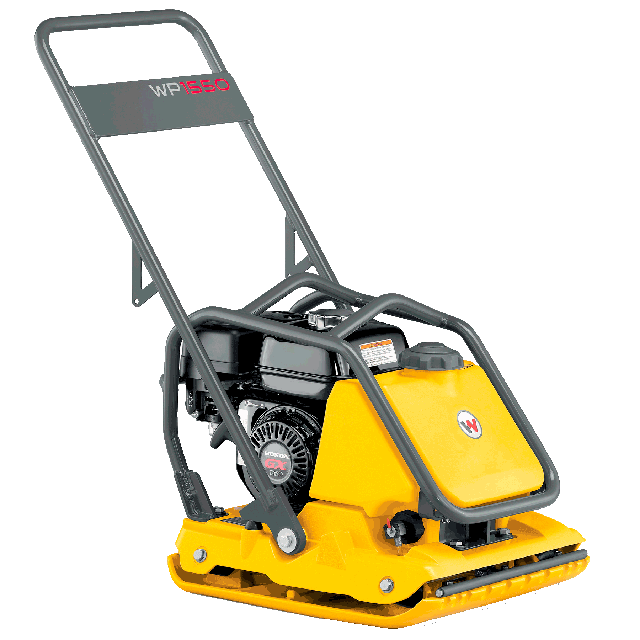
The Right Tools

Simple Tip: Work in layers (a few inches at a time) and compact each layer thoroughly. The result will be much more solid and durable.

Step 2: Prepare the Bedding Layer (Stone Dust or Sand)

Once the base is properly compacted, the next step is to add a thin bedding layer where the pavers will be laid.

Stone Dust or Sand: Which Should You Choose?

Stone Dust

  • More stable once compacted
  • Less movement over time
  • Often preferred for driveways and high-traffic areas

Sand

  • Easier to level
  • Can work well for lighter projects like patios or walkways

What You Need to Know

  • The layer should be thin (about 1 inch)
  • It must be properly leveled for a smooth, even surface
  • Avoid over-compacting before installation — it should remain slightly flexible

The Right Tools

The goal here isn’t to harden the surface, but to stabilize it just enough to support the pavers properly.

Step 3: Choose and Install Your Pavers

Which Type of Paver Should You Choose?

There are several types of pavers available, and your choice will affect both the appearance and the installation process.

Here are a few simple guidelines:

Standard Pavers (Rectangular or Square Concrete Pavers)

  • The easiest to install
  • Ideal for a first project

Patterned or Multi-Format Pavers

  • More decorative and visually striking
  • Require more planning to follow the layout pattern properly

Thicker Pavers

  • Recommended for driveways
  • Better suited to support heavier loads

Does the Installation Change Depending on the Paver?

Yes, slightly:

  • Simple pavers allow for quicker installation and are more forgiving of minor mistakes or unevenness
  • Patterned pavers require a precise layout to maintain the design
  • Smaller pavers often require more adjustments during installation

Best Practices for Installation

  • Start from a straight corner
  • Work forward gradually without stepping on the leveled surface
  • Keep consistent spacing between the pavers
  • Check alignment regularly as you go

Take your time. A careful installation makes all the difference in the final result.

Step 4: Cut the Pavers with Precision

For edges and borders, you’ll almost always need to cut some of the pavers to fit properly.

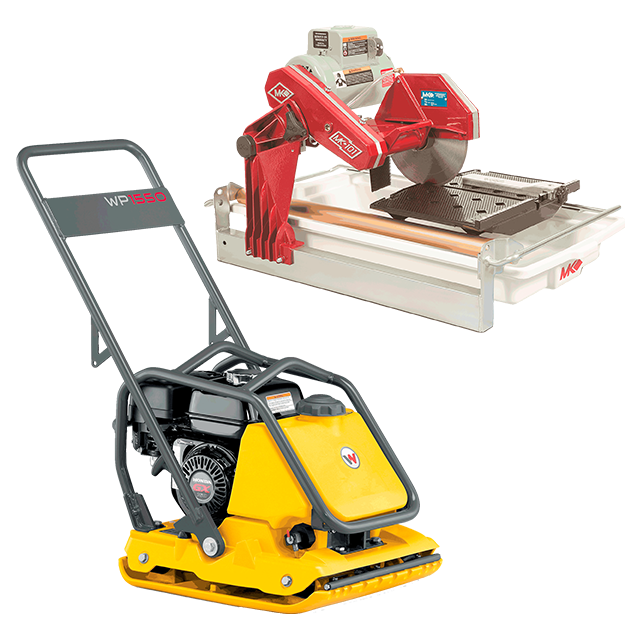
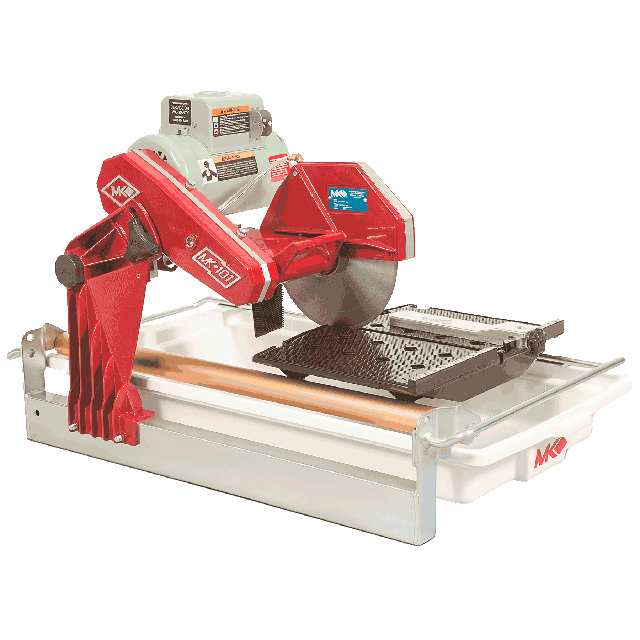
Recommended Tool

10" Paver Saw with Masonry Blade

It allows for:

  • clean, straight cuts
  • precise adjustments
  • a more professional-looking finish

Tip : Measure twice before cutting. It helps avoid wasted material and unnecessary adjustments.

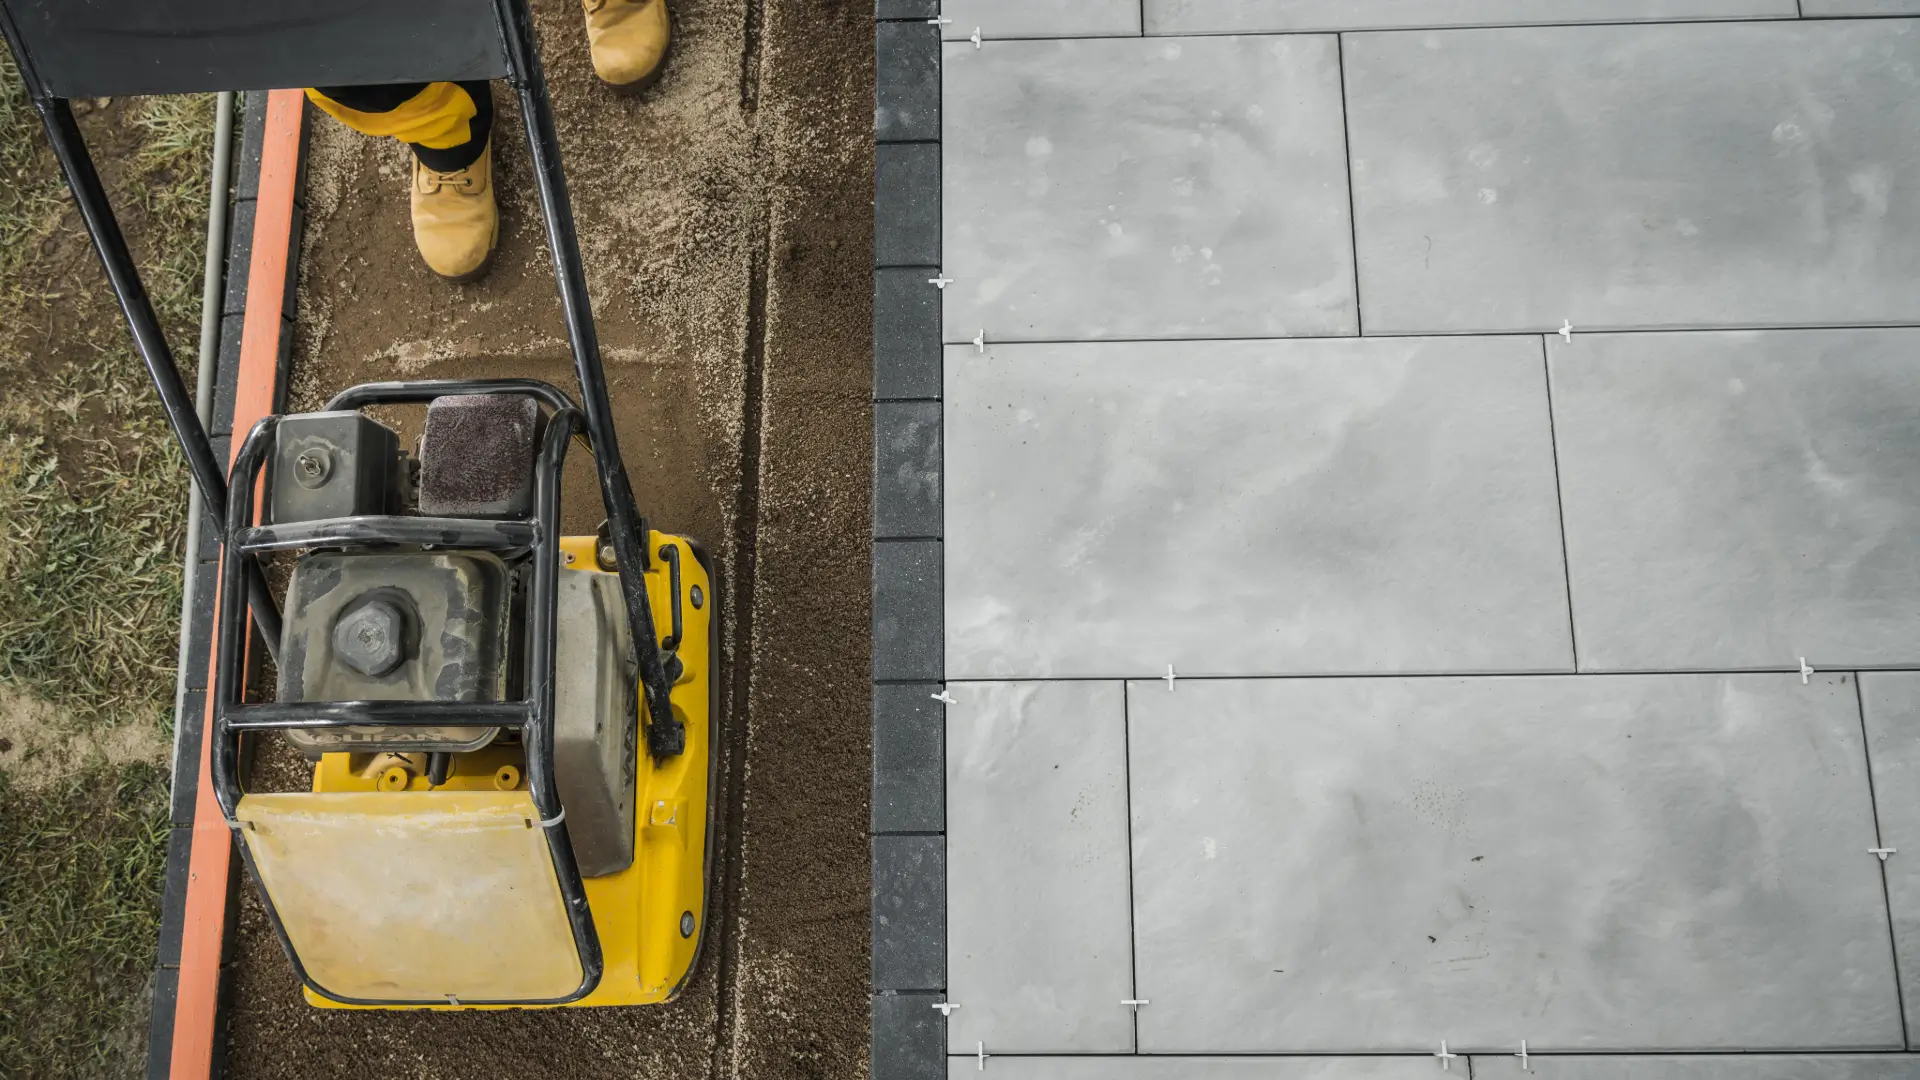
Step 5: Final Compaction (Yes, Right Over the Pavers)

Once all the pavers are in place, there’s one last essential step: locking everything together.

How Does It Work?

A vibratory plate compactor is passed directly over the pavers.

This step helps to:

  • properly seat the pavers into the bedding layer
  • even out the surface
  • eliminate minor height variations

How to Do It Properly

  • Make sure the surface is clean
  • If possible, use a protective pad under the plate compactor to avoid damaging the pavers
  • Run the plate compactor evenly across the entire surface using consistent passes

Then:

  • spread sand (or polymeric sand) into the joints
  • perform a light final compaction to help the material settle properly

The result: the pavers are locked firmly in place and the surface becomes much more stable.

Key Takeaways

Installing pavers isn’t complicated. The key is to follow each step in the right order and understand why it matters.

  • A solid base helps prevent settling
  • A properly leveled surface makes installation easier
  • Good final compaction ensures long-term durability

With the right tools and techniques, you can achieve a clean, durable result you’ll be proud of.

Need Help Choosing the Right Equipment?

If you have questions or aren’t sure which equipment to use, we’re here to help guide you.

FAQ

How deep should the excavation be for paver installation?

The required depth depends on the type of project and soil conditions, but an excavation depth of 8 to 12 inches is often recommended to ensure proper stability.

What is the difference between pavers and asphalt ?

Pavers offer a more aesthetic finish and can be repaired individually, while asphalt is generally faster to install and has a lower initial cost.

When is the best time to install pavers?

Spring, summer and early fall are generally the best times to install pavers under optimal conditions.

Over 30 rental locations throughout Québec

Find my branch