Guide

How to sand hardwood floors step by step

Nos héros CORPIQ ont utilisé une panoplie d'équipements pour rénover le plancher de Baptiste.

Isabelle and Rémy's project to make their rental space even more attractive is moving forward. After showing you phase 1 on the mobile vegetable garden, the renovation of the patios and the fences, it's time to see Baptiste's room. Check out the progress of the hardwood floor renovations right here.

Redoing the floor!

The work continues in our duplex in the heart of the Plateau Mont-Royal. After having presented phase 1 consisting of renovating the exterior courtyard, our two heroes will begin the interior phase of the work.

Our little site manager Baptiste has decided to clear out his playground! Or rather to give the hardwood floor a facelift.

After several years of use, the hardwood floor becomes damaged and darkens. A specific treatment is possible to give it back its former freshness!

And for that, Isabelle and Rémy will undertake the embellishment of the 12 square meter room!

You tell us about your project, and we will advise you on the tools and equipment to make your project a success!

How to sand your floor?

 
Sanding a hardwood floor requires a delicate treatment, but it is not as difficult as you might think!
 
The sanding process requires a certain dexterity and precision to get the job done right! If you are confident in your manual skills and are comfortable with the idea of doing it on your own like Isabelle and Remy, it is possible!
 
For a perfect sanding, it takes a hand sander, a floor sander, sandpaper and a vacuum cleaner to clean up!
 
The goal is simple, to give a second life to the hardwood floor in Baptiste's room.
 
"To make Baptiste's little cars go even faster on the floor! This new playground has to be passable! And for that, our two heroes are going to put their hearts into making sure that our little Baptiste is happy in his new playground!
 
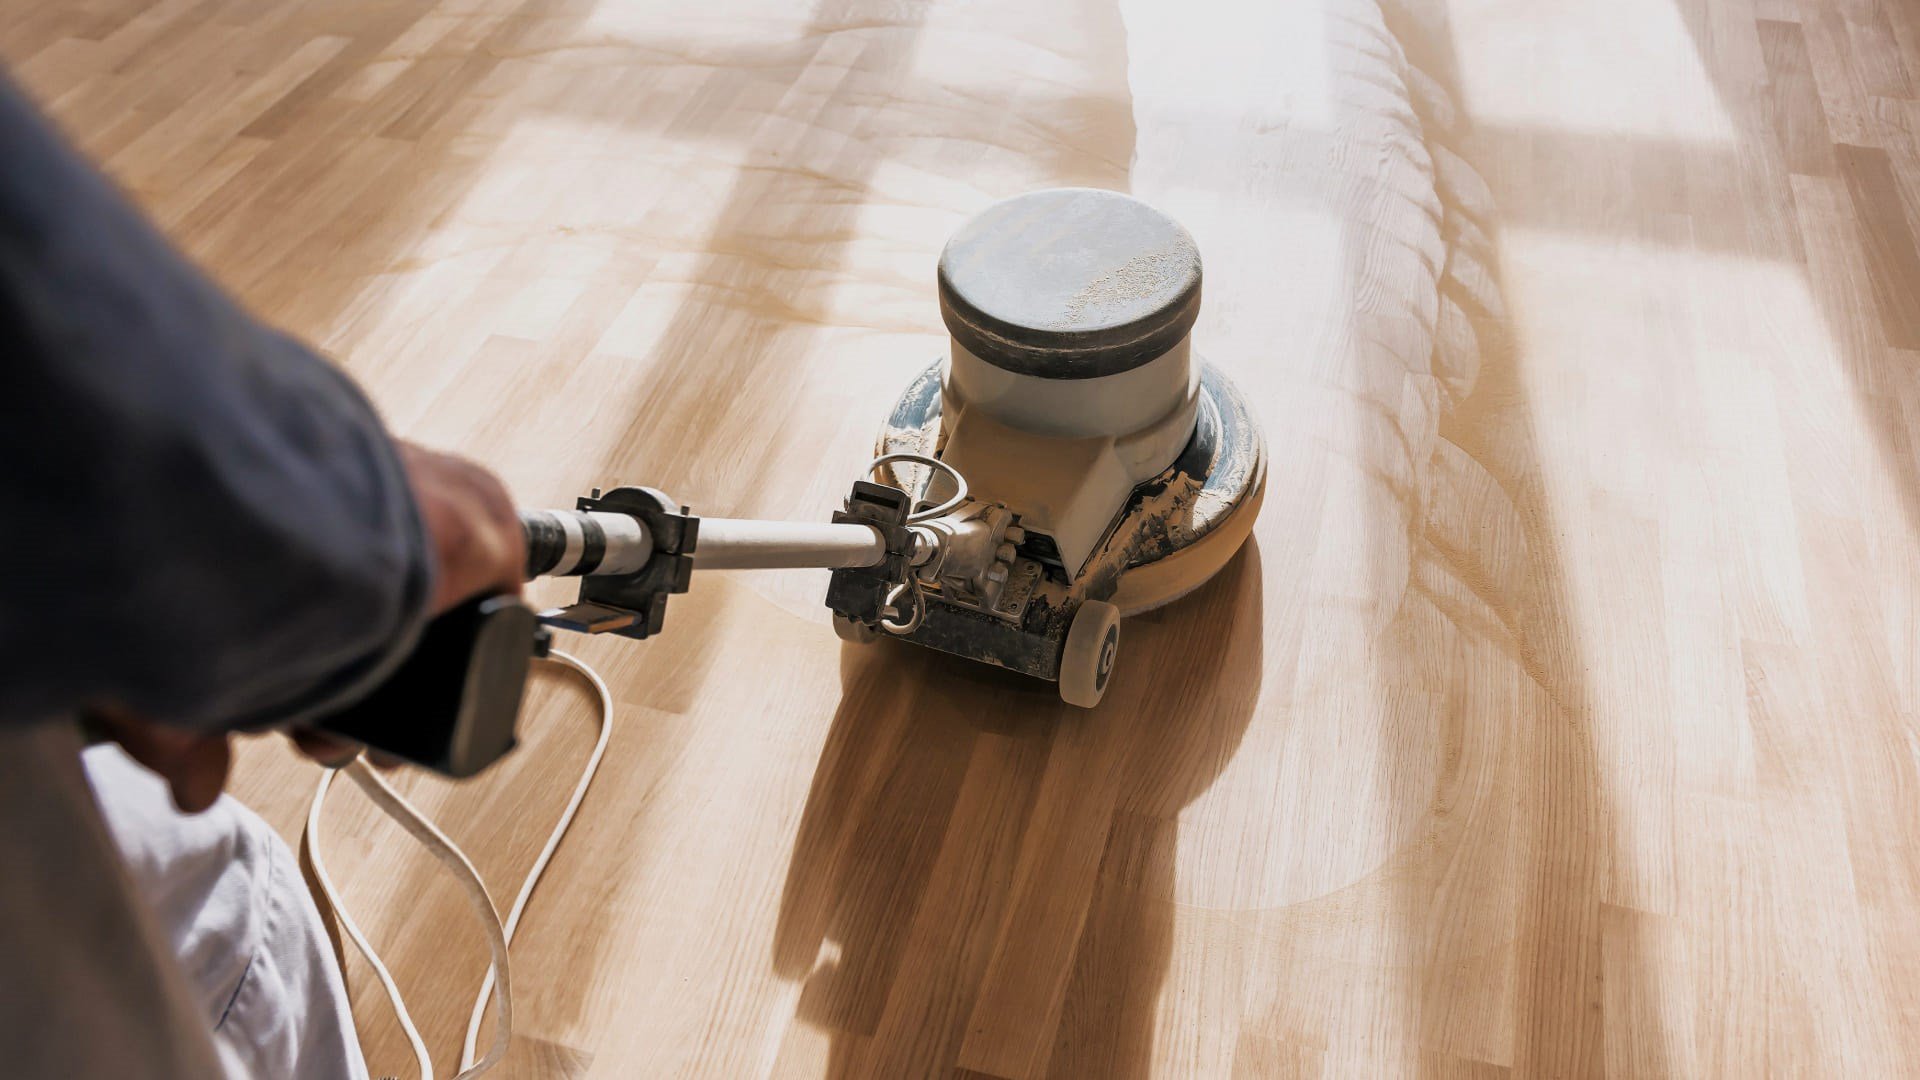
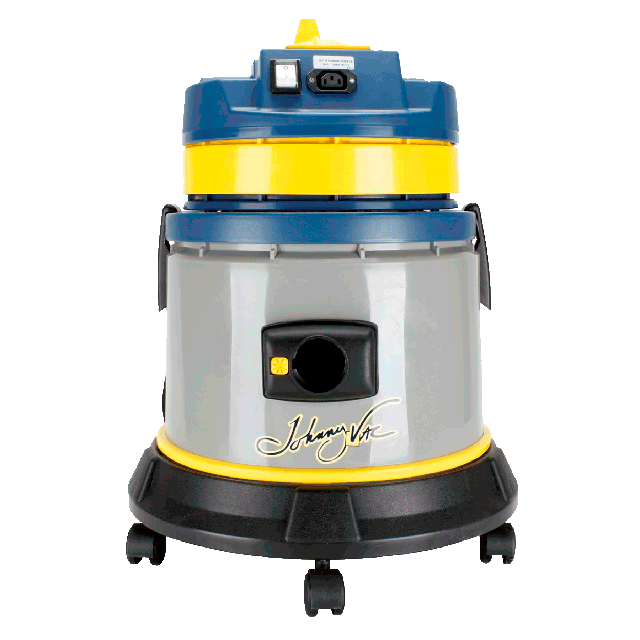
One of the main requirements was to contain the dispersion of dust in the room as much as possible, so to avoid depositing dust throughout the house a vacuum cleaner was connected directly to the 8in roller sander.

4 steps to renovate your hardwood floor

1 - Preparations before the work

 
In order to work in peace, Isabelle and Rémy made sure to clear the surfaces where the work will be done on their floor.
 
Before sanding the surface, it is important to make sure that no boards are sticking out. This could complicate the use of the floor sander!
 

2 - Sandblasting and sanding floors

 
To keep the wood in good condition, it is important to always sand in the direction of the wood. And our two heroes have understood this!
 
To treat all the corners, the places difficult to access with the big sander and to cut the walls, nothing could be easier with the EDGER. This small sandblaster allows you to treat all the corners and the restricted places. (edge of stairs or edge of wall).
 
The 8" floor sander was used to sand the entire surface of the floor. First, Isabelle and Rémy started their work with a coarse sandpaper to remove the varnish and the marks embedded in the floor. Then they switched to a finer grit paper to obtain a smoother finish and achieve the desired degree of sanding.
 

3 - Cleaning the work area

 
After sanding the surface, a good 6gal vacuuming is necessary to clean and remove dust, residue and debris from the sanding.
 
Our two heroes made sure everything was clean and dust free before moving on to the next step.
 

4 - Application of floor finish

 
For our little project leader's room, Isabelle and Rémy opted for an ecological and odorless product that dries quickly.
 
Ideal for our little Baptiste to enjoy his new room in the best conditions!
 

Feedback from our heroes

Après deux demi-journées de travail à sabler avec les différents grains de papier, nos bricoleurs ont pu terminer la chambre de Baptiste.

Simple and effective

After two half days of sanding with the different grains of paper, our handymen were able to finish Baptiste's room.

Before starting the renovation phase, Isabelle had some apprehensions about using the equipment. Like making marks on the floor or digging too much into the wood. However, she quickly forgot about this after getting the hang of it!
 
Isabelle and Rémy's experience:
 
"Easier than you think!"
"Easy to maneuver"
"Easy to use and to handle".
"Very little dust dispersion with the vacuum cleaner in the rooms".
 
Our couple is very happy with the results!
 

The result of the experiment?

 
Isabelle and Rémy were able to experience a new room after sanding the hardwood floors. The benefits are obvious: the room is brighter thanks to the refinishing of the floors, the room is more attractive thanks to the rejuvenation of the wood, it is easier to clean and it feels like a much larger space!
 
Seeing the result of the room, Isabelle and Remy are eager to do the entire second floor. Case to follow.

The result of the renovations