Complete a Project

How to resurface your concrete?

The harsh winter finally ended and left us with crumbled and damaged concrete surfaces. Whether for your small driveway, sidewalk, or terrace slightly damaged or worn it can be expensive and take a long time to replace them. Spring is a good time to resurface concrete. In this article, we guide you on the key steps to successfully resurface concrete, to transform the appearance and longevity of your space.

What is concrete resurfacing?

Concrete resurfacing is a renovation technique that restores damaged, worn or aged concrete surfaces. This method consists of applying a new layer of material to the existing one, offering an almost new finish, without requiring the complete replacement of the structure.

When to opt for concrete resurfacing?

Resurfacing is a good option when the problem is minor and damage can easily be repaired. For example in cases of minor cracks, small holes, stains or discolorations. 

 
However, it is preferable to replace a concrete driveway, floor or patio when the problems are more complex to repair, threaten the concrete structure or are numerous and extensive. For example, when several large cracks are present, the surface is very uneven, signs indicate that the concrete slab has not been properly installed or that the concrete does not effectively support its weight load. 

How to resurface the concrete?

1. Surface preparation

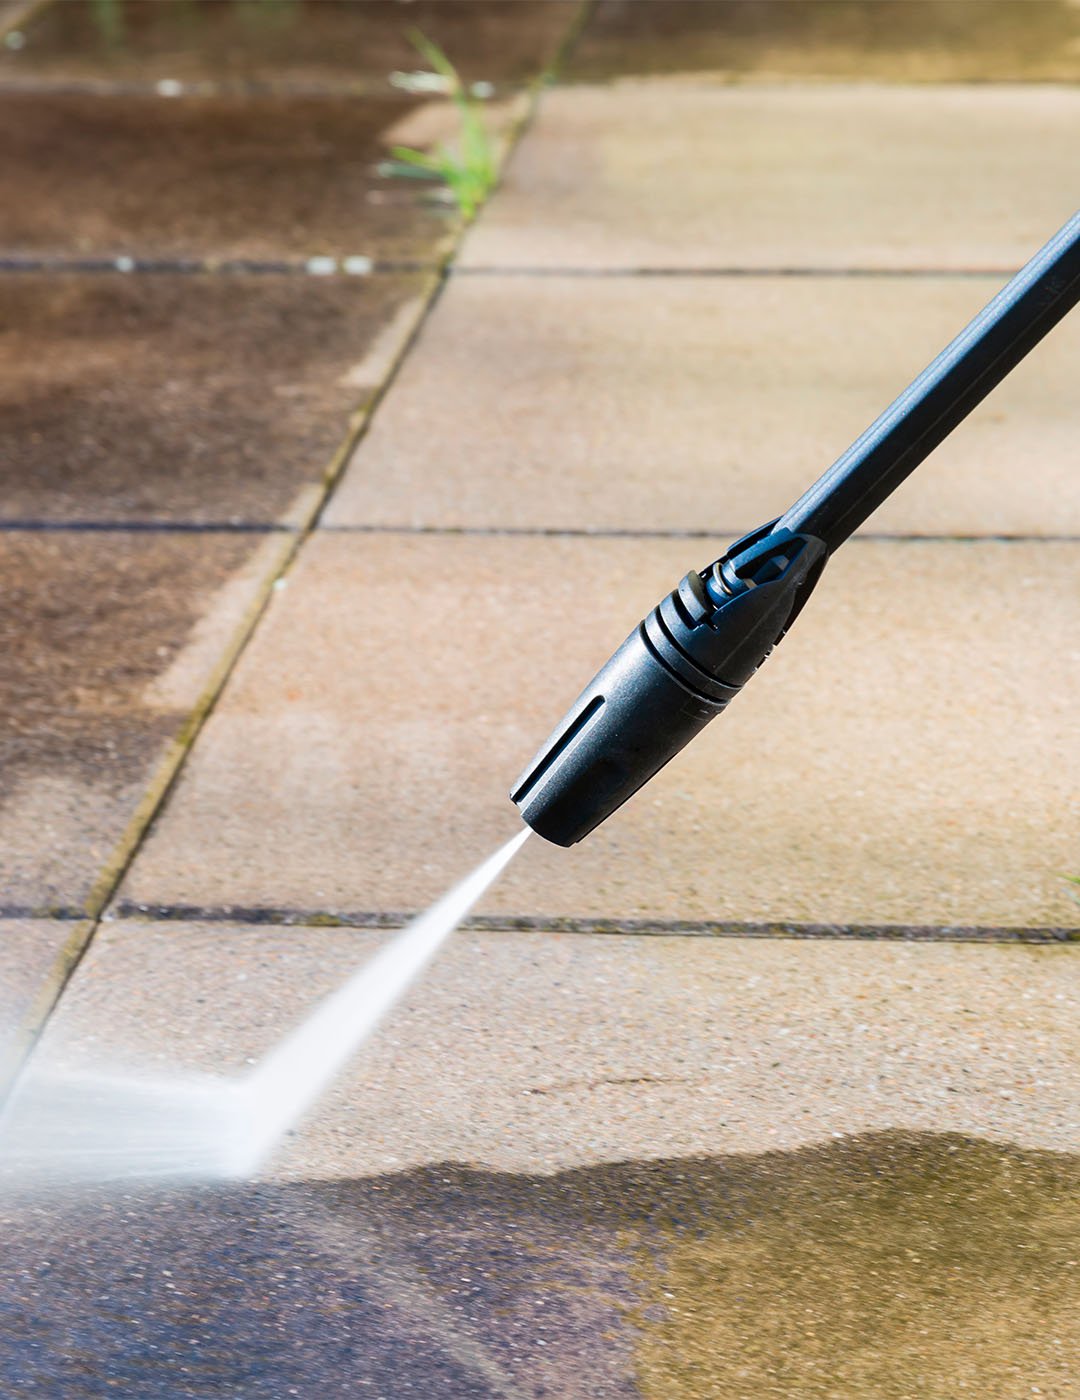
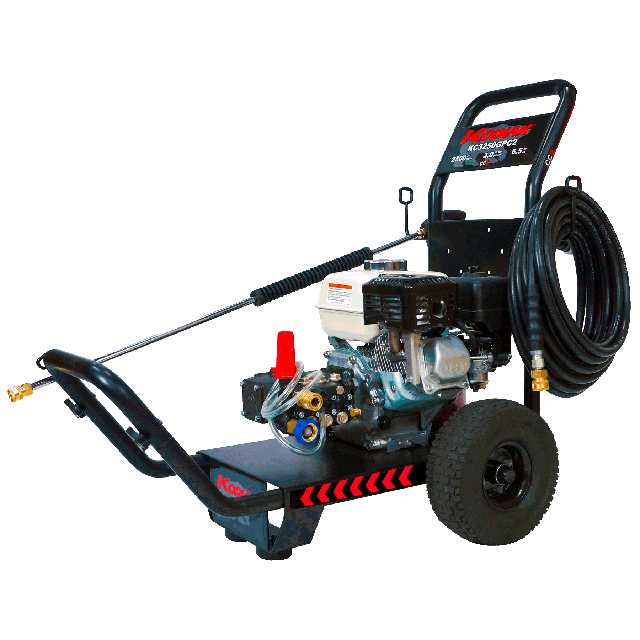
Before applying the new coating, it is crucial to properly prepare the concrete surface. This step consists of cleaning the surface by removing crumbled concrete and oil or grease stains that can compromise the adhesion of the new material. You can use a pressure washer that is effective at removing debris or a soft-bristled nylon brush to treat the toughest stains without damaging the concrete structure.

Find all our pressure washers

2. Material preparation

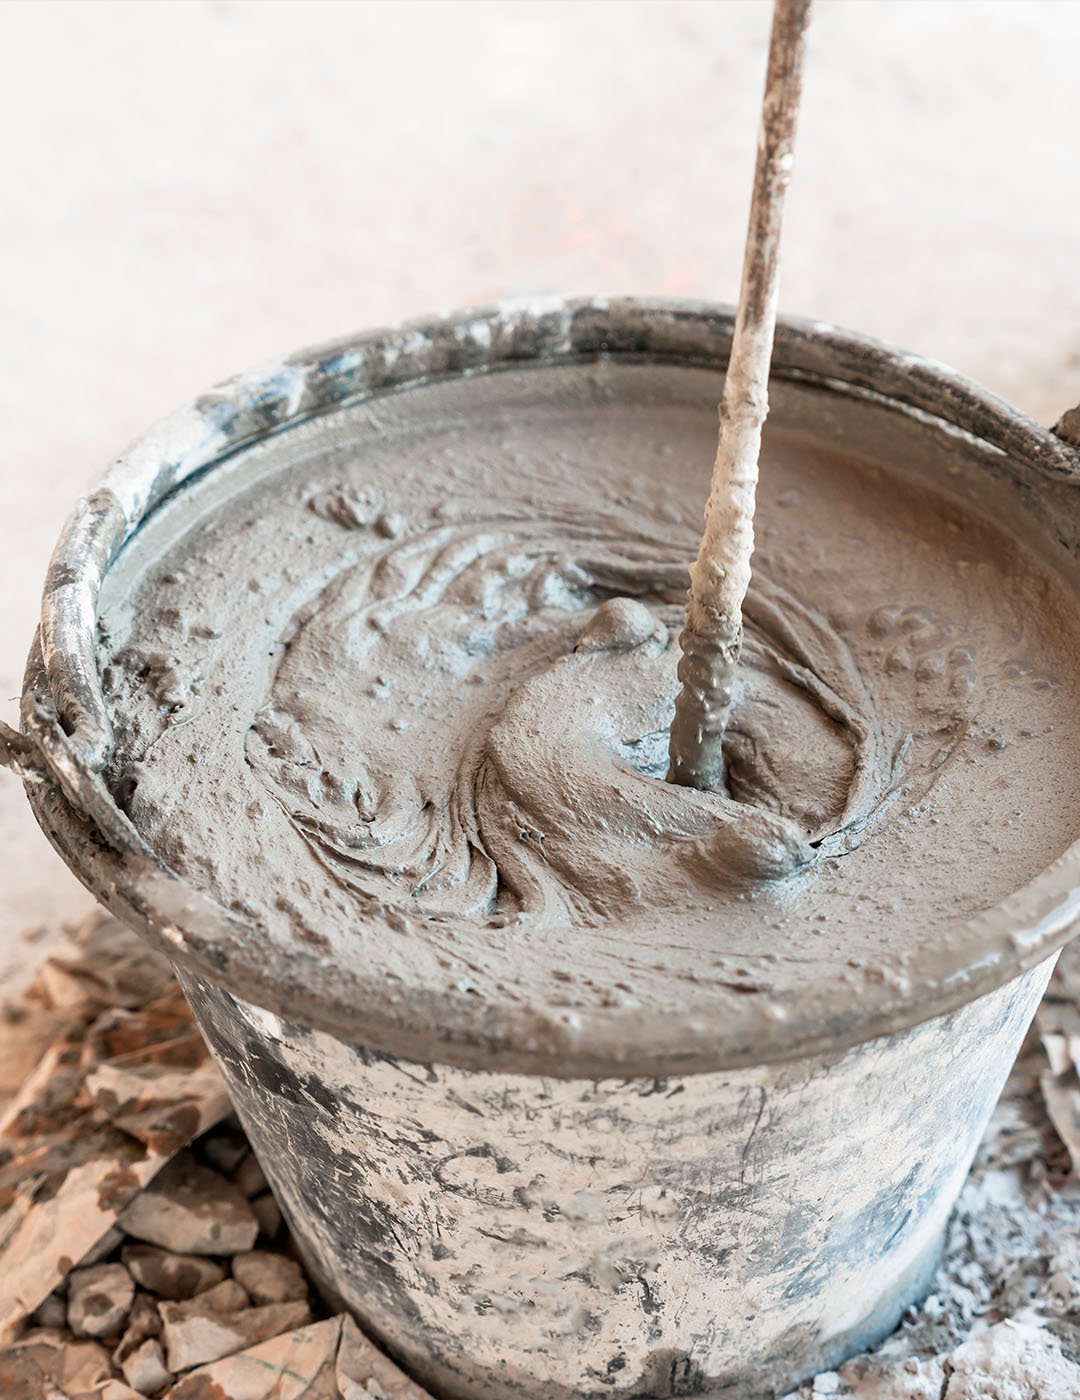
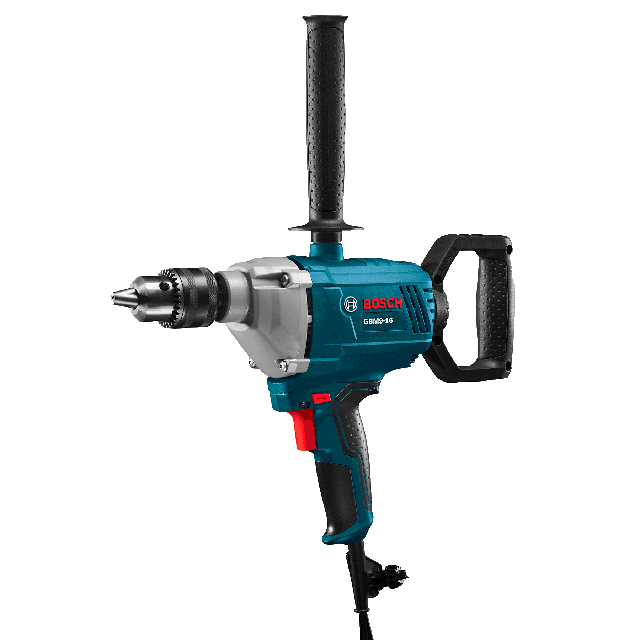
To begin the second step, calculate the width of the surface to be covered in order to prepare the right amount of concrete. Then, in a 20-liter bucket, pour the entire liquid component before gradually introducing the dry mixture. Once the liquid is in place, add the dry mixture and mix well with a mixer mounted on a drill for at least three minutes. Attention - when the two parts have been totally combined, you will get a grout.

Discover the drill we used

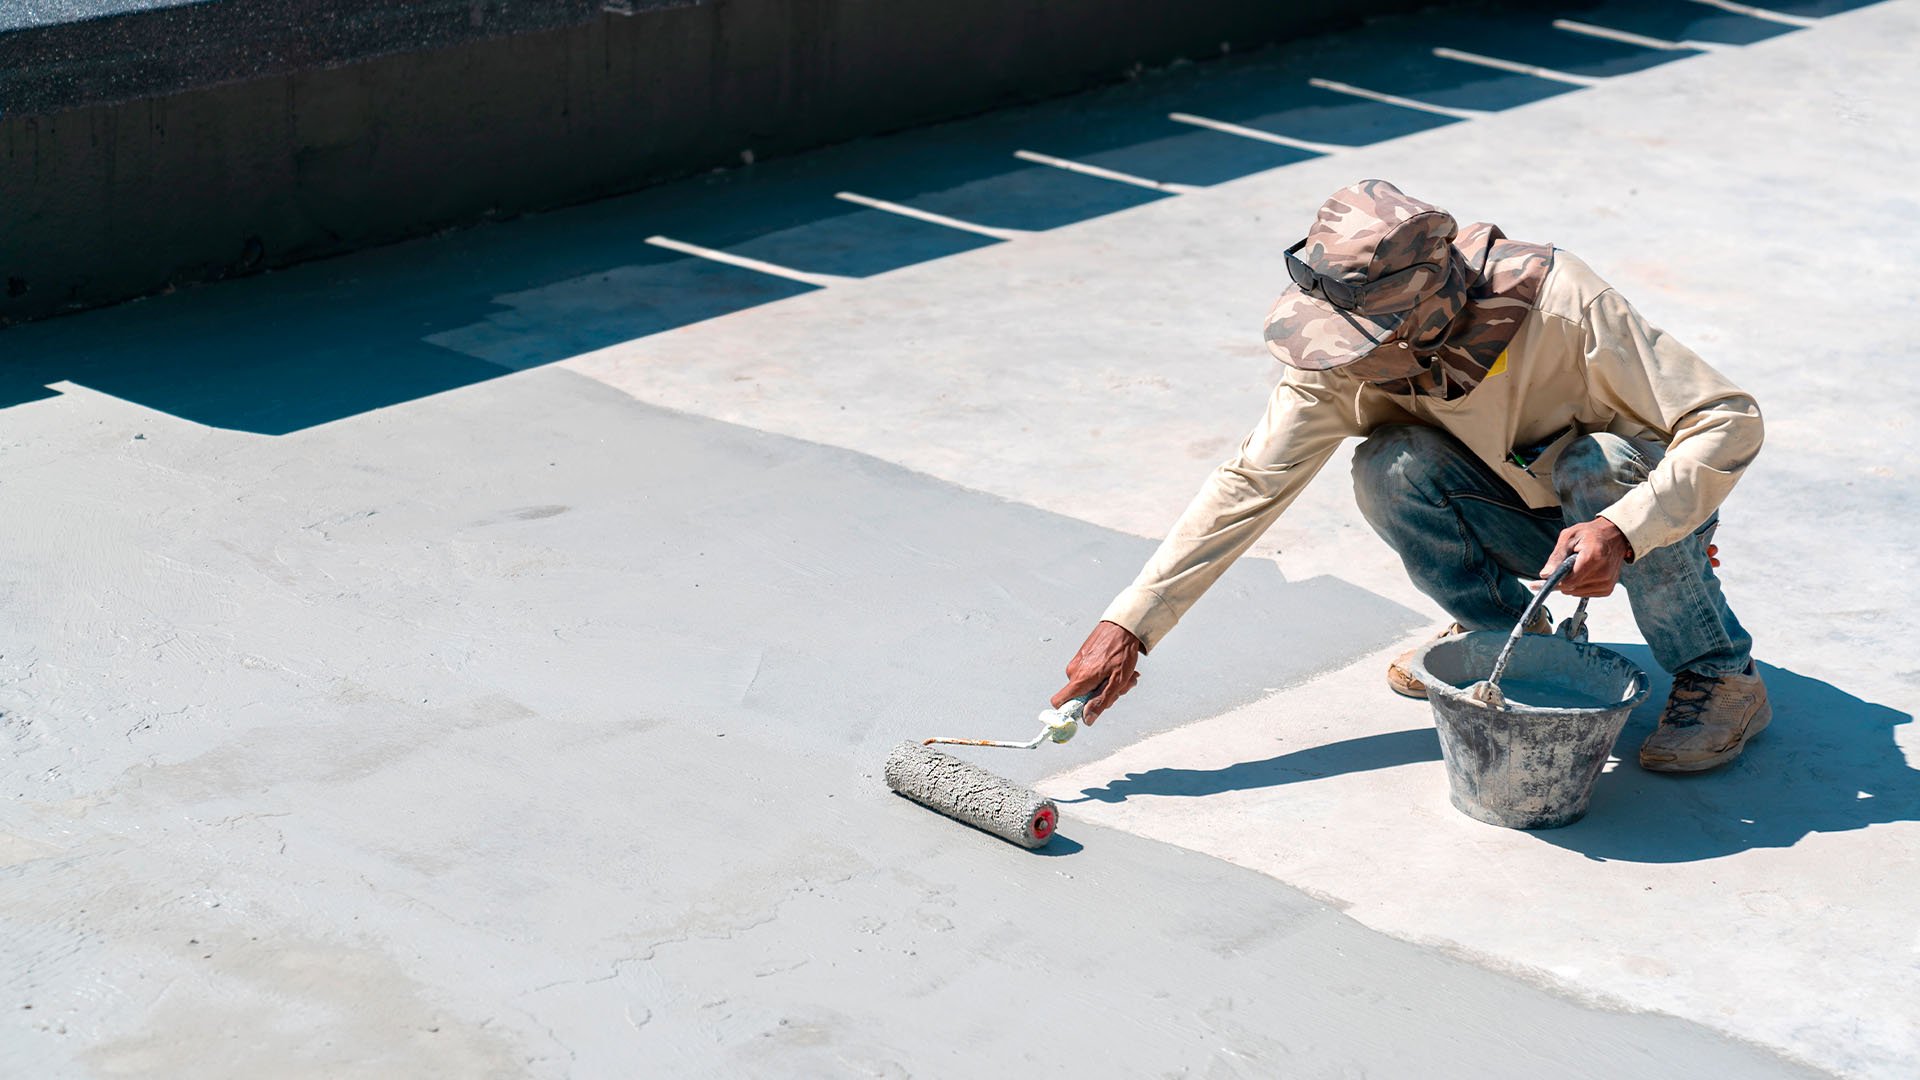
3. Application of the surfacing

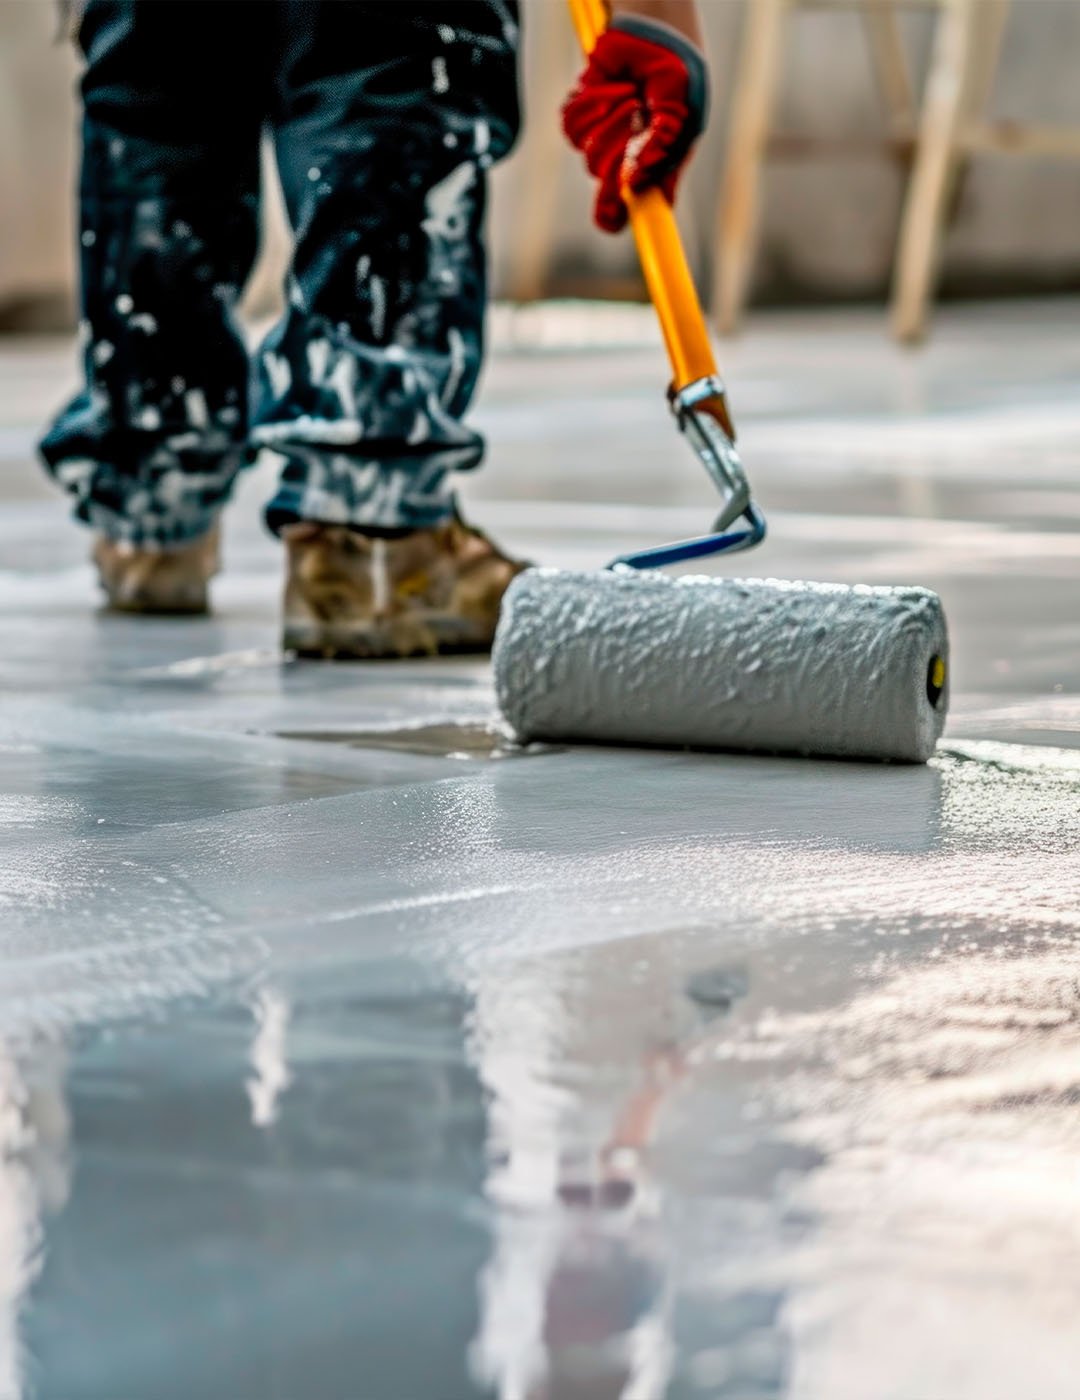
If you opt for a trowel application, use only 70% of the liquid part, no mesh is needed. To begin with, apply the first layer with a roller and let harden for two to six hours. When surfacing grouts, use a hard bristle brush or broom, while for mortars use a flat trowel. After the second layer smooth the surface with a dry sponge to obtain a uniform finish.

Watch out for frost! It is better not to undertake your work requiring concrete or mortar when the temperature is below 5 degrees, this can make the concrete or mortar more brittle after curing.

Discover all our promotions in this month's category

Learn more

How do I know if resurfacing is necessary?

Resurfacing is a good option when the concrete shows signs of wear or has minor damage that simply needs a refresh. If the damage is more extensive or the concrete is severely deteriorated, it may be better to replace the surface to ensure a solid foundation.

What is the best time of the year to resurface outdoor concrete ?

Spring is generally a good time to resurface outdoor concrete. With milder temperatures, conditions are more favorable for the resurfacing product to bond properly.

What is the difference between resurfacing and replacing concrete ?

Resurfacing helps correct imperfections and minor damage while extending the life of the concrete. When the damage is more extensive or affects the concrete’s structural integrity, it is best to replace the surface entirely. This is especially true when deep cracks develop or pieces of concrete begin to break off or spall.

Over 30 rental locations throughout Québec

Find my branch